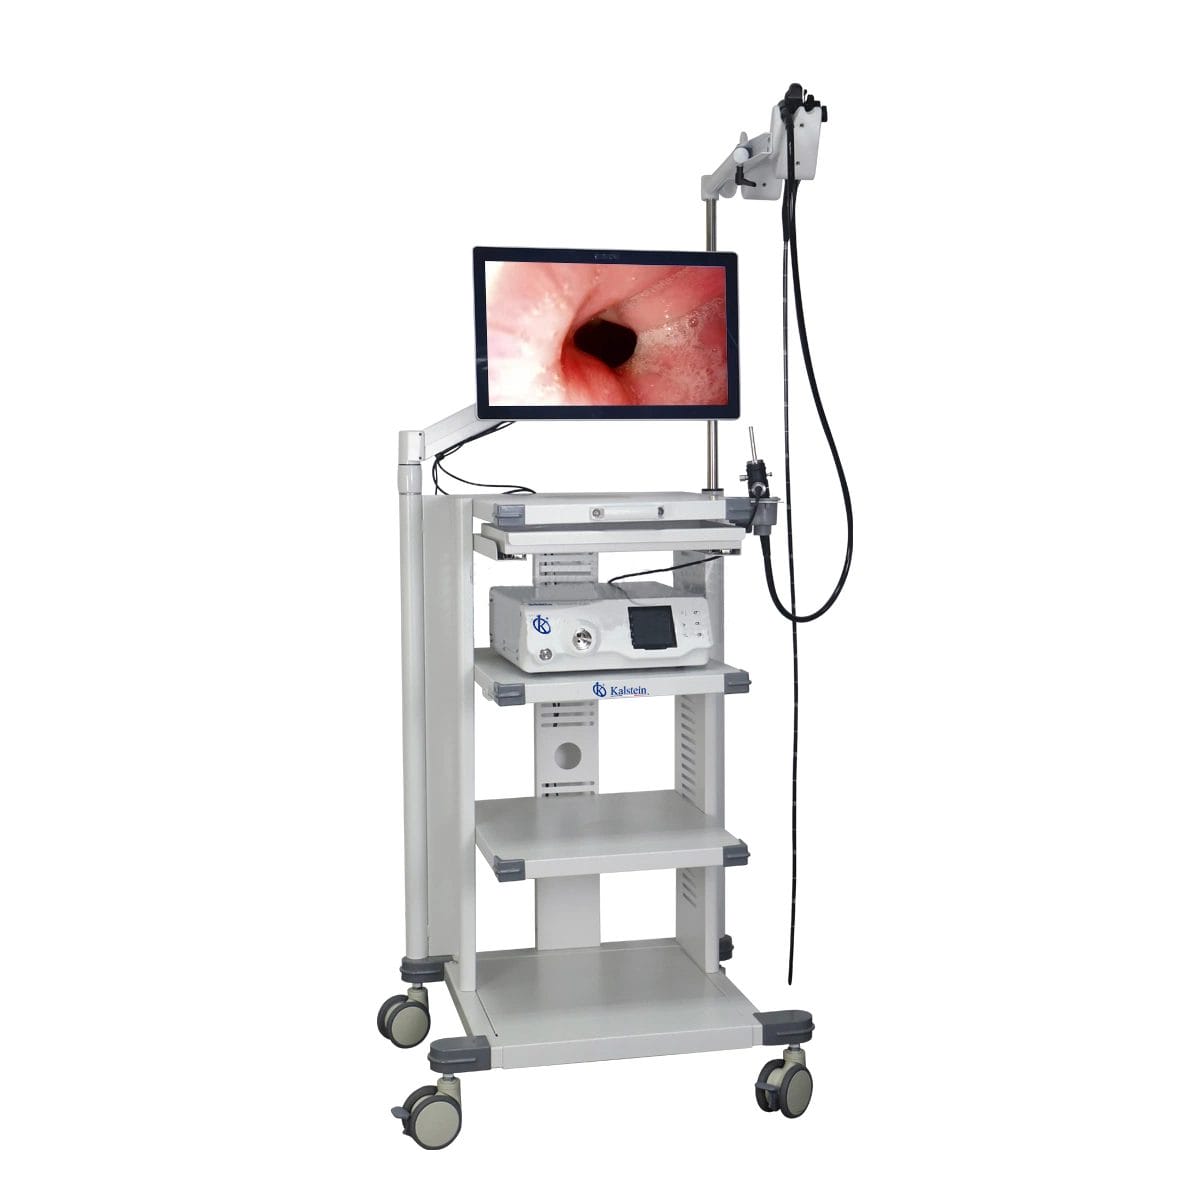
Installation and Startup Guide for the YR06146 High Definition Veterinary Video Endoscope
The YR06146 High Definition Veterinary Video Endoscope is a specialized tool designed for various clinical applications including gastroscopy, colonoscopy, and bronchoscopy in companion animals such as dogs and cats. It also serves larger animals like horses and cattle with additional capabilities such as esophagoscopy and hysteroscopy. This guide will provide a comprehensive overview of the installation and startup procedures, ensuring the endoscope operates at peak efficiency.
Understanding the YR06146 Endoscope Configuration
The YR06146 model is equipped with high-resolution imaging capabilities and ergonomic design features critical for the veterinary field. The endoscope has a diameter of 7.8 mm, a working channel of 2.8 mm, and a working length of 1500 mm, allowing for versatility in various procedures. The 120° view angle ensures extensive visibility during examinations.
Unboxing Checklist
Before installation, ensure you have all components necessary for setup. The unboxing checklist should include:
- YR06146 Endoscope
- 21.5-inch medical monitor
- Power supply unit
- Instruction manual
- Cleaning kit
Installation Steps
Follow these steps to install the YR06146 correctly:
- Positioning the Equipment: Ensure that the endoscope station is placed on a stable surface, ideally in a clean, dry area free from excessive dust and moisture.
- Connecting the Monitor: Use the provided cables to connect the endoscope to the 21.5-inch medical monitor, ensuring secure connections.
- Power-Up Sequence: Connect the power supply and turn on the unit. Wait for the system to initialize, which may take a few moments.
- Calibration: Follow the calibration instructions in the manual to ensure accurate readings and performance.
First Run Calibration
After installing the YR06146, it is crucial to perform a first-run calibration to ensure the equipment is functioning correctly:
- Check the display for any error messages.
- Run a self-test to verify all components are operational.
- Check the imaging resolution by conducting a test procedure.
Common Setup Mistakes
Here are some potential mistakes to avoid during setup:
- Insecure connections between the endoscope and the monitor, leading to display issues.
- Incorrect power supply connection, which may prevent the unit from powering on.
- Neglecting to perform initial calibration, possibly affecting the accuracy of results.
Technical Specifications of YR06146
| Model | Diameter of Insertion Tube | Working Channel | Working Length | View Angle | View Depth | Range of Bending | Resolution |
|---|---|---|---|---|---|---|---|
| YR06146 | 7.8 mm | 2.8 mm | 1500 mm | 120° | 3~100 mm | 180° (U), 130° (D), 100° (R), 100° (L) | HD 720P (1M pixels) |
Frequently Asked Questions
What should I do if the YR06146 does not power on?
If the YR06146 does not power on, check the power connections to ensure they are secure. Verify that the power outlet is functioning by testing it with another device. If the problem persists, consult the troubleshooting section of the manual.
How can I ensure optimal image quality during procedures using the YR06146?
To maintain optimal image quality, ensure that the endoscope lens is clean before each use, and adjust the brightness settings according to the lighting conditions of the procedure area. Regular maintenance and calibration are also essential for consistent performance.
What is the recommended maintenance schedule for the YR06146?
The YR06146 should undergo routine maintenance every six months. This includes cleaning the lens, checking the connections, and running diagnostic tests to ensure all components function correctly.
Can the YR06146 be used for both small and large animals?
Yes, the YR06146 is versatile enough to be utilized for both small and large animals, making it suitable for a variety of veterinary applications including gastroscopy and bronchoscopy.
What are the compatible accessories for the YR06146?
Compatible accessories include various endoscope cleaning solutions, replacement tubes, and imaging software upgrades. Always consult the manufacturer's recommendations for optimal compatibility.
How do I troubleshoot common error codes on the YR06146?
Refer to the user manual for a list of common error codes and their solutions. Identify the error code displayed and follow the suggested troubleshooting steps to resolve the issue.
If you are looking for a fusion of innovation and quality, you have come to the right place. At Kalstein, we offer you the luxury of exploring our exclusive catalog of laboratory equipment. We manufacture every device to the highest standards of excellence. Our intuitive and seamless online purchasing channels are designed for your convenience, securing the most competitive prices. Hesitate no longer — we bring science to life, it is time to become part of our community.