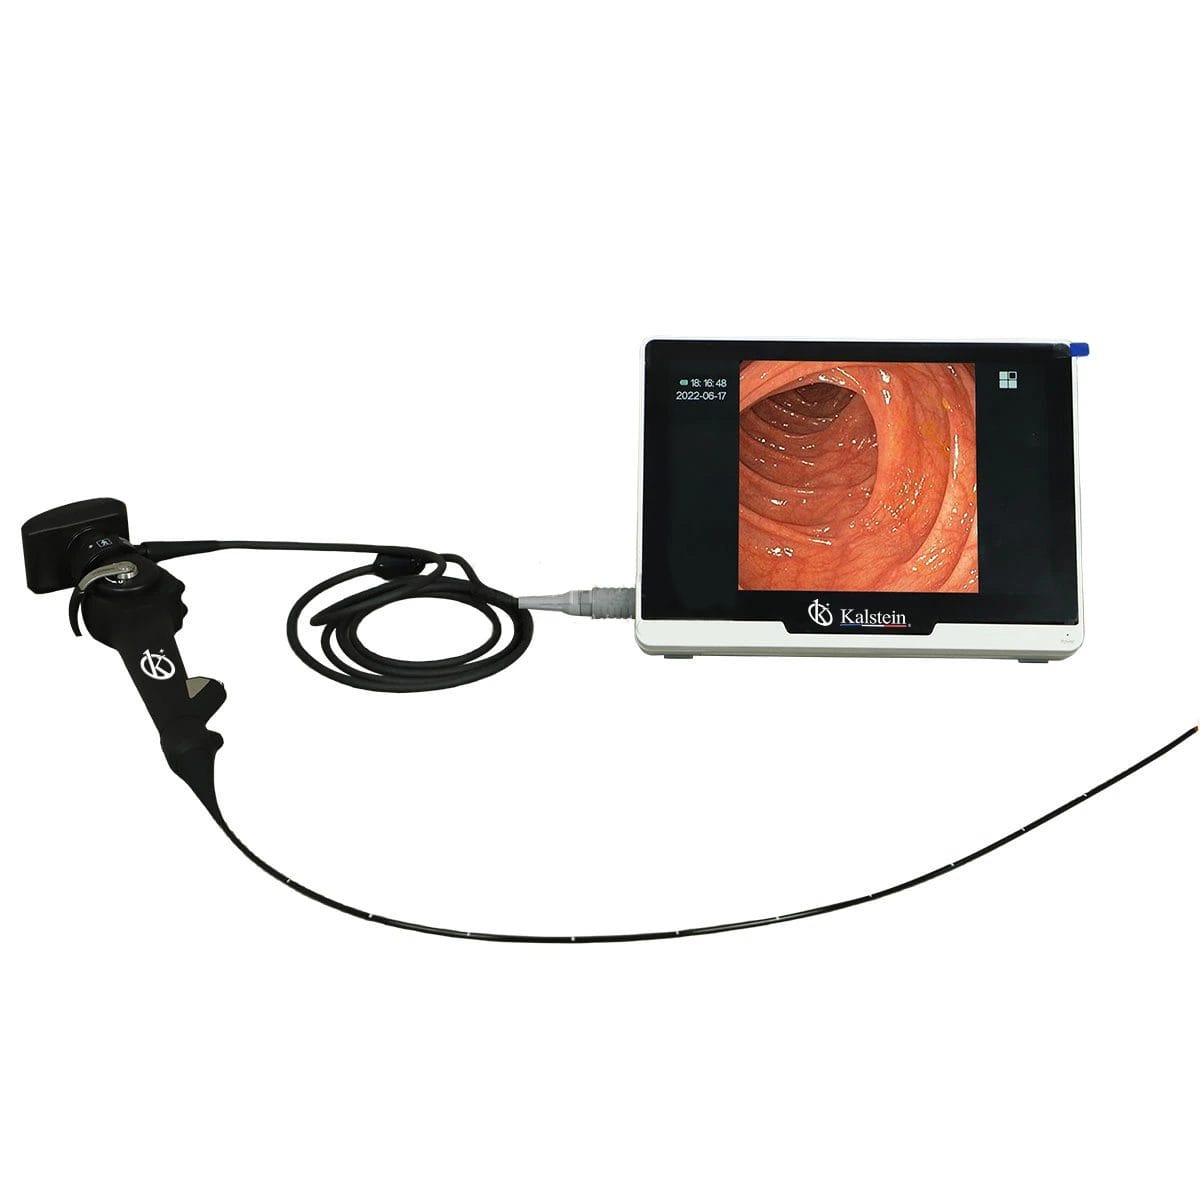
Installation and Startup Guide for the YR06152 Portable Veterinary Video Endoscope
The YR06152 Portable Veterinary Video Endoscope is an advanced tool designed for various veterinary applications, including bronchoscopy, rhinoscopy, and urinary tract examinations. This guide provides a detailed installation and startup procedure to ensure optimal performance and longevity of the equipment.
Overview of the YR06152 Model
The YR06152 is equipped with a high-resolution CMOS sensor that guarantees sharp images and real-time viewing without transfer delays. Its ergonomic design includes multifunction buttons for photo, video, freeze, and zoom functions, allowing veterinarians to operate the device comfortably with one hand. This model also offers flexibility with a 180° rotating video adapter cable, enabling unhindered handling during procedures.
Technical Specifications of the YR06152
| Model | Diameter of Insertion Tube | Working Channel | Working Length | View Angle | View Depth | Range of Bending | Screen Size |
|---|---|---|---|---|---|---|---|
| YR06152 | 3.8 mm | 1.5 mm | 1000 mm | 120° | 3-200 mm | 180° (Up), 130° (Down), 120° (Right), 120° (Left) | 10 inches |
Unboxing the YR06152 Video Endoscope
Upon receiving the YR06152, carefully unbox the equipment, ensuring to check for all components listed in the package checklist. Verify that the following items are included:
- YR06152 Portable Veterinary Video Endoscope
- Power Adapter
- Instruction Manual
- Video Output Cable
- Protective Carrying Case
Inspect the equipment for any visible damage and report discrepancies to the supplier immediately.
Setting Up the YR06152
Follow these steps to set up the YR06152 before first use:
- Secure the Device: Find a stable and level surface to place the endoscope during use. Ensure that the area is well-lit and free from distractions.
- Connecting Power: Plug the power adapter into a suitable power outlet and connect it to the endoscope.
- Video Output Connection: Connect the video output cable to the desired display device for viewing. Ensure all connections are firm to avoid interruptions during operation.
- Initial Power-Up: Press the power button to turn on the device. Allow it to perform any self-checks indicated on the display.
Calibration and First-Run Validation
After powering up the YR06152, perform the following calibration steps:
- Display Settings: Adjust brightness and contrast settings on the display to ensure optimal visibility of the images.
- Camera Focus: Test the focus settings by inserting the endoscope into a controlled environment, ensuring clarity and sharpness of visual output.
- Recording Functionality: Test the recording function by capturing a short video and reviewing it for quality.
Common Setup Mistakes and Troubleshooting
During setup, users may encounter several common mistakes. Below is a troubleshooting guide for resolving such issues:
| Symptom | Probable Cause | Solution |
|---|---|---|
| Device does not power on | Power adapter not connected | Ensure the power adapter is securely connected to both the outlet and the device. |
| Video output is not displaying | Cable connection issue | Check all video output connections and ensure they are properly seated. |
| Image is blurry | Incorrect focus settings | Adjust the focus knob until the image clarity improves. |
Veterinary Applications of the YR06152
The versatility of the YR06152 allows for its use in various veterinary applications:
- Bronchoscopy: The endoscope facilitates inspection of the trachea and bronchi for respiratory issues.
- Rhinoscopy: Enables examination of the nasal cavity for diagnosing conditions affecting the upper respiratory tract.
- Urinary Tract Procedures: Assists in urinary examinations and treatments, ensuring thorough evaluations.
Frequently Asked Questions
What should I do if the YR06152 does not turn on?
If the YR06152 does not power on, first check to ensure that the power adapter is securely connected to both the device and the electrical outlet. If the issue persists, inspect the power cable for any signs of damage.
How can I adjust the settings on the YR06152?
Settings such as brightness, contrast, and focus can be adjusted using the buttons located on the handle of the YR06152. Refer to the instruction manual for detailed steps on modifying these settings.
What maintenance is required for the YR06152?
Regular maintenance involves cleaning the insertion tube and lens after each use, ensuring that no residue obstructs the view. Additionally, scheduling periodic checks for cable integrity and device functionality is recommended.
Can the YR06152 be used for both large and small animals?
Yes, the YR06152 is designed to accommodate various animal sizes, making it suitable for both large and small veterinary practices.
What is the warranty period for the YR06152?
The YR06152 typically comes with a one-year warranty covering manufacturing defects. It is advisable to review the warranty terms provided with the device for specific coverage details.
How do I perform a software update on the YR06152?
Software updates for the YR06152 can be performed by downloading the latest version from the manufacturer’s website and following the update instructions provided in the user manual.
Where can I request a quote for the YR06152?
Quotes for the YR06152 can be requested through our dedicated channels for product inquiries and pricing.
If you are looking for a fusion of innovation and quality, you have come to the right place. At Kalstein, we offer you the luxury of exploring our exclusive catalog of laboratory equipment. We manufacture every device to the highest standards of excellence. Our intuitive and seamless online purchasing channels are designed for your convenience, securing the most competitive prices. Hesitate no longer — we bring science to life, it is time to become part of our community.